TemperTrap - those fuckers done that deliberately!
Read Morelight
Photostrip - Warpaint - Live 30.10.2016, Live Music Hall, Cologne
Hi everyone!
Well, there's dark gigs, and you know, theres DARK gigs. Gigs where not only are you risking life and limb walking through the photo pit, but also not getting much in the way of fruits for your perilous labour.
Well, last weekend Warpaint gig in Cologne was one such event!
Toil and trouble (as it was the night before hallowe'en) led to not too much in the way of keepers! Sometime's i really wonder if bands are interested in their marketing at all? I mean presumably they do want people to see what they get up to on stage? I'm sometimes not sure if they do. Although, in all fairness - there aren't that many live images of Warpaint around, so maybe thats the reason why. I may not have the most light-sensitive camera (there's much better available), but for future reference, should i shoot this band again, i'll need to hire some night-vision-aparatus!!
Anyway - moan over - here's some pics!
Cheers!
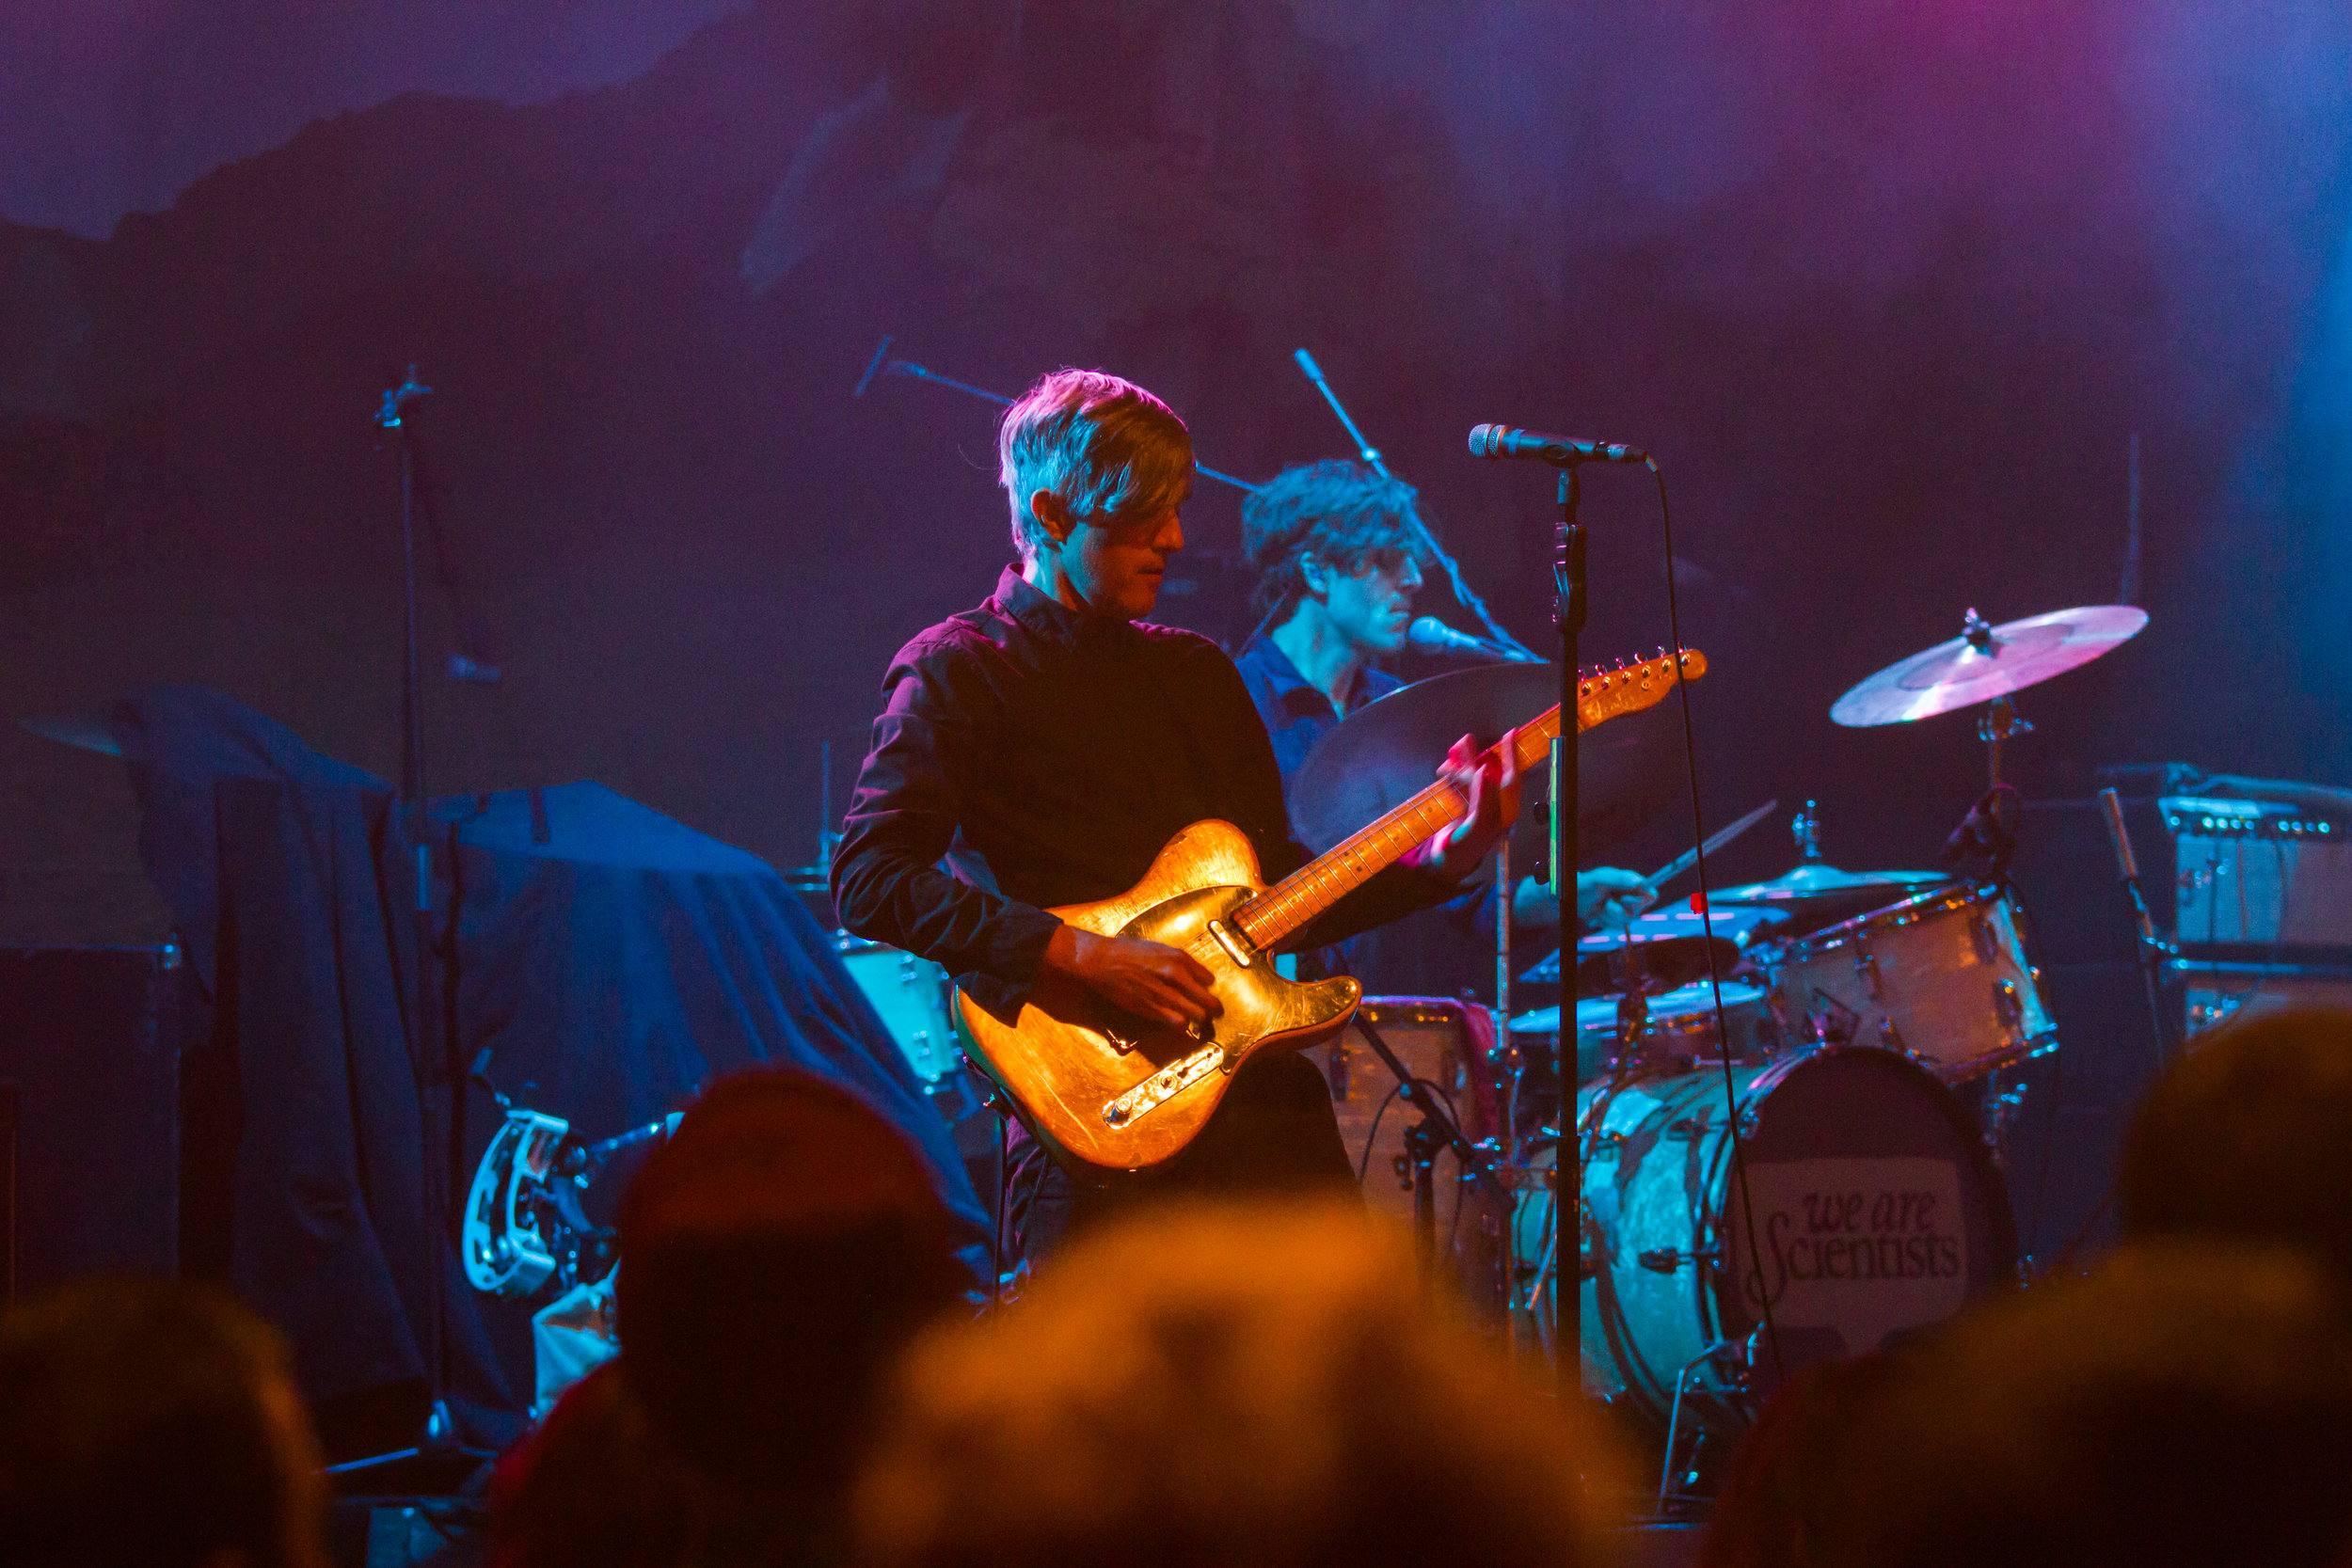
Photostrip - We Are Scientists - LIVE 01.10.2016, FZW Dortmund
ALL pictures © Ant Palmer/Ape.Photos. Use ONLY with permission.
Let light live!
Hey!
So, last week I talked about killing ambient light in order to create a low-key portrait. Well, this week, I've been having a play around with high-key light, again using just one speedlight!
When creating a low-key scenario with one strobe, the starting point is always the shutter speed. Simply, pump it up all the way to your cameras maximum flash sync speed. This is usually in the range from 1/200 - 1/250th of a second. This gives you your starting point to be able to create a dark image from a lit scene.
When creating a high-key lighting effect, the mission is to make your camera as sensitive to light as you can, while trying to maintain a correct exposure. Over-exposing slight isn't going to kill your image, but don't forget that simply over-exposing as much as you can to create the effect will result in a serious loss of detail in your final image, and something that is as good as un-savable in post!
In the image below, my set-up couldn't have been simpler! Usually two strobes as used in this method - one to blow out the background and one to light the subject. I used just the one flash, in room flooded with daylight.
So, in my shot, I used one light, set to 1/4 power, placed on a stand behind me and bounced off the wall and ceiling behind me. That was it! Having a white background is obviously a must. In this case I simply draped a white sheet over my sofa. Depending on the size of your room, or distance to subject, you may of course need to increase or decrease the output power of your light.
Set your ISO to something a little more sensitive, but nothing thats going to cause image degradation - I used ISO 400. As I was shooting a baby, that of course won't stay still, I couldn't shoot wide open. If I did, then I probably wouldn't have got a single sharp shot! f3.5 was used in this case to give me enough depth of field to allow for slight movement.
So - that's my base settings, then, It's just a case of bringing the shutter speed down enough to let the camera suck in plenty light!! My shot here was taken at 1/80 second at f3.5 ISO 400 with flash at 1/4 power and 24mm for a good spread of light. Some creasing in my background is still visible - so not completely blown out. This can be adjusted in Lightroom using an adjustment brush in the white, highlights or exposure channel. Easy! A word of warning though, be careful not to go to mad in Lightroom - you can end up with the image looking like the subject has been superimposed onto a white background - not good. I've left the slight shadow that was cast just to avoid this look.
I'll definitely be having a play with this set-up again soon! May next i'll try the trusted 2 light technique and report back!!
Kit used: Canon 7d, Tamron 17-50mm SP DI, Yongnuo YN-560III Flash with 560TX wireless trigger, Walimex pro lightstand, old bed sheet.


