lightroom
Master Your Adobe Lightroom Workflow

Being a master of your Lightroom Workflow means you will be able to edit faster, find your images faster and have complete control over your file management.
Read MoreLightroom Tutorial: Workflow - Importing Images
In this tutorial, i’ll take your through one of the most basic features of Adobe Lightroom: How to import and organise your images, and getting to grips with the Import interface.
Read MoreLightroom Tutorial: Quickly View Your Before and After Images
On the path to become a Lightroom Editing Overlord, you’re going to need to know a few keyboard shortcuts here and there! In this quick tutorial, i’ll show you how to quickly view the before and after versions of your edit.
Read MoreVIDEO: Photoshop Speed Edit

Hey! I thought i’d throw together a quick video of a recent edit i did of a landscape image.
The original was seriously drab! I shot underexposed because of direct sun, giving myself of course the added disadvantage of more noise as i would have liked in the resulting RAW file.
Read MorePhotoshop Tutorial: Create a Composite Collage

Collages created in Adobe Photoshop can feel like the domain of the graphic designer at first. But don’t be put off! Creating this type of image is much easier than you think! And what’s more - there’s no rules! Do what ever you like!
In this quick tutorial, i’ll guide you through how to create a basic collage using one base image.
Read MoreLightroom Tutorial: Effectively Manage Your Preset Library

Of the plethora of cool shizzle available to us in Adobe Lightroom, nothing speeds up your editing workflow like Presets! In this short article, i’ll show you how to find, manage and add to your Lightroom Presets collection.
Read MoreInsta-Unfamous: Volume 2

Back by popular demand! I’ve curated a collection of Instagram images where the poster may well at some point regret hitting the ‘share’ button! Under the spotlight this time, accounts claiming to earn a living through their Photoshop skills!
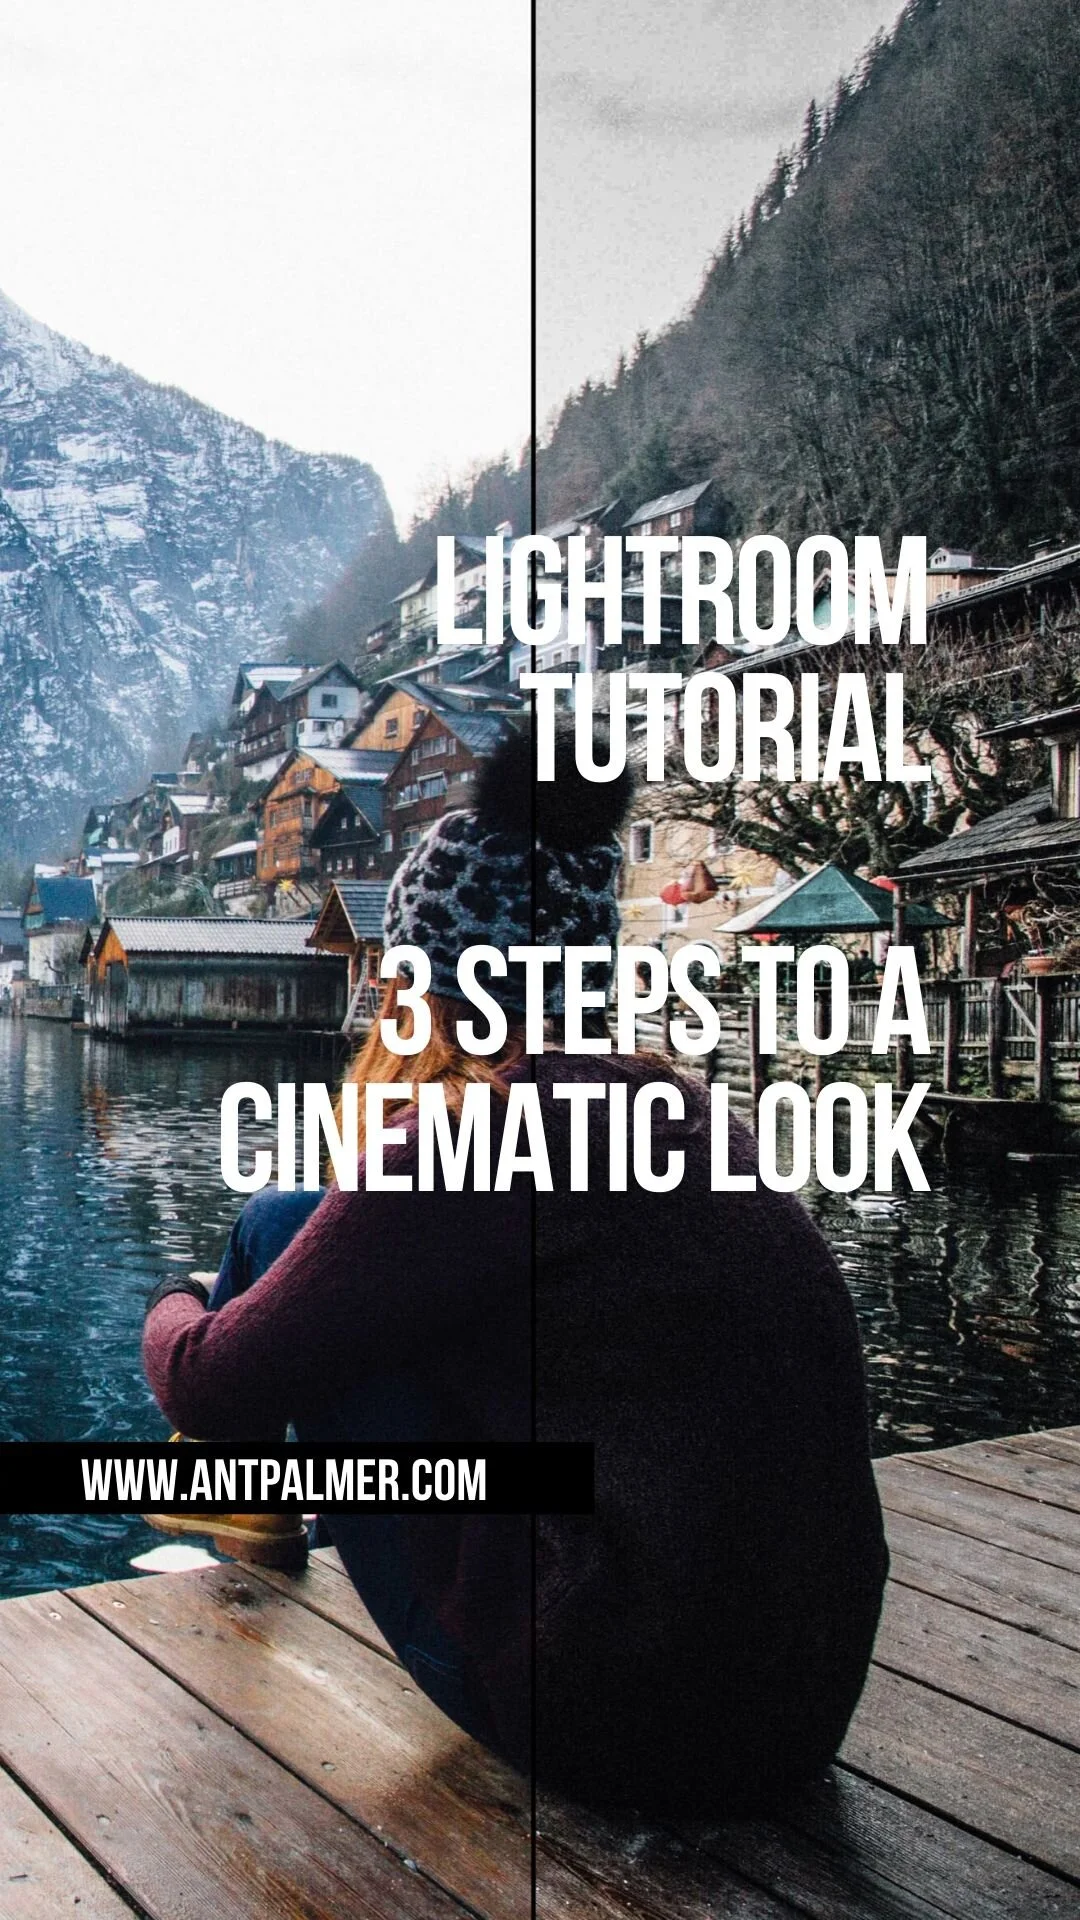
Read MoreLightroom Tutorial: 3 easy steps to a Cinematic Look

Creating a cinema inspired effect in Adobe Lightroom may look like a drama at first, but it really isn’t. In this quick tutorial, i’ll show you how to get a Cinematic Look in just 3 steps!
Read MoreLightroom Tutorial: Get the Teal and Orange look in 2 steps

It’s everywhere on Instagram! Now you can create your own Teal & Orange look in Lightroom in two easy steps!
Read MoreLightroom Tutorial: Prepare your images for Instagram

One of the biggest pains in the butt when preparing photos for Instagram is whether or not the platform will compress your image when you upload it - making great looking images look like lemons! The fact that you can now zoom in on an image on Instagram has made this worry even bigger than the fear of going outside in 2020!
Read MoreVintage Tones Lightroom Presets

Vintage-look photos - usually the playground of the Instagram filter! Yuk!
Spend less time editing and more time shooting with the new Vintage Tones preset pack.
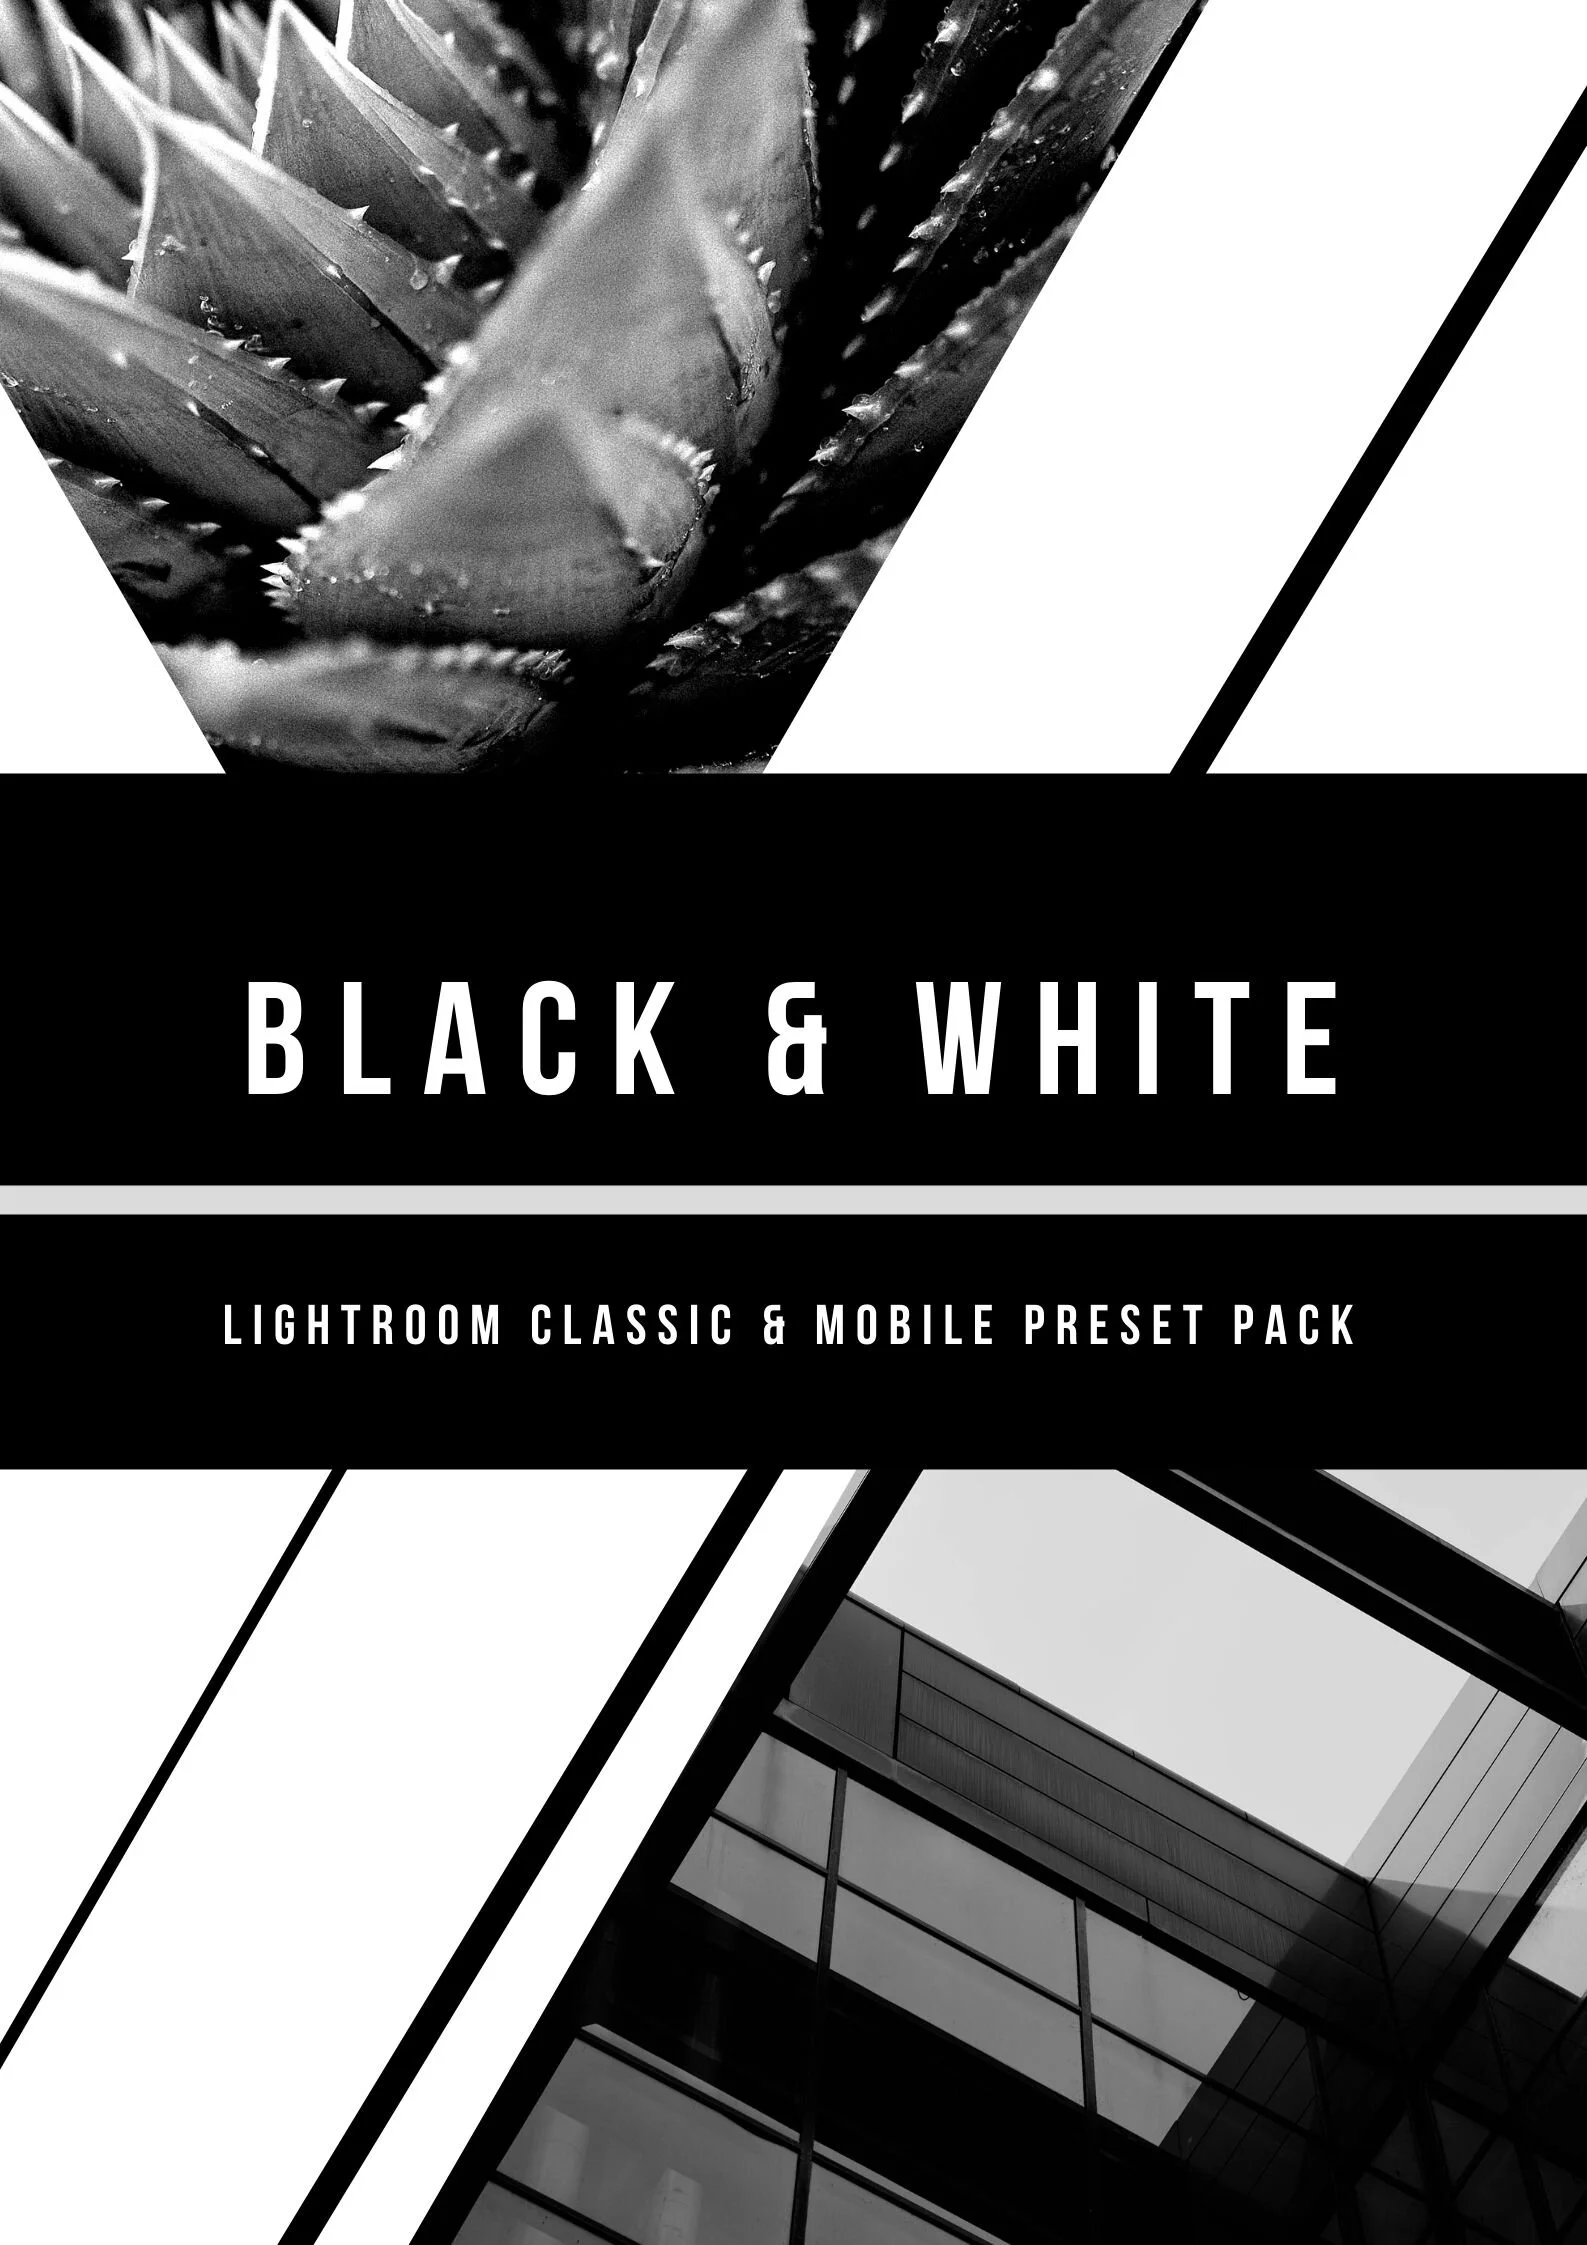
Read MoreBlack and White Presets

Black and white images always have an air of mystery around them! But getting the right black and white look is not as simple as simply clicking ‘B&W’ in the Lightroom adjustments panel!
Read MoreMoment Camera Pro Time-Lapse Woes
Version 4.0 of Pro Camera from Moment recently arrived on the AppStore, promising a wide range of updated features, including a new time-lapse feature.
Read MoreFilm Look Lightroom Presets

Available Now: Film Look presets for Adobe Lightroom Classic and Mobile
Read MoreNEW: Architecture Lightroom Presets available now!
One-Click editing with new Architecture Preset Pack for Adobe Lightroom Classic and Mobile
Read MoreLightroom Tutorial: Edit Fall Photos in Under 30 Seconds!

Some corners of the Northern Hemisphere still have some great autumn photo opportunities on offer, and with this hot tip you can edit fall photos in under 30 seconds!
Read MoreChoosing the Right Laptop for Photo Editing

Choosing the right laptop for photo editing can be a struggle. In this short guide, we hope to help you make an informed decision from a range of top machines!
Read MoreGetting Started in Concert Photography

Photoshop Tutorial: Content Aware really IS your friend!
Hey!
Yeah i know, off the radar again! I would love to say the reason for my blogging absence is due to being so mega busy that there simply aren’t enough hours in the day…etc…etc…
Fact is - i’ve been too lazy! Ok, a little bit busy too, but mainly lazy!
Anyhoo - as the title suggests, we’re going to touch a little on photoshop.
A couple of weeks ago I was over at Theater Oberhausen, doing a promo shoot for an upcoming production.
You’ll note, that yes, i have shot slightly less insane things.
The above image is straight out of camera. You’ll not that we’re shooting inside a built set, within a larger hall. We were actually in the set building hall belonging to the theatre. No much room to shoot inside this wooden box, and a ton of natural light flooding in through the windows.
It needed to be a moody shot anyway, so killing the ambient light and bringing in flash was always on the cards. The biggest problem though was framing the shot. I shot with the widest glass i had - 17mm on a FF sensor - and had to hold the camera to my side against the wall, so i had no real idea what i was shooting.
Anyway, because of the constraints i had, this meant there would be a fairly heavy chunk of post production coming my way in order to keep this shot wide-looking, but having it look like were just in this stripy room!
The final image
Obviously, i’m not a genius, and don’t have hours and hours to spend bringing images through post production. But, the content aware tool is your friend. Selecting parts of the image that are outside of our little ‘room’, and using the Content Aware fill, really does help to speed up the process. In most cases, it’s pretty accurate in expanding the background.
There’s obviously going to be some imperfections to the background, but they can be tidied up using the clone stamp tool, and with some creative (and fairly liberal) use of dodge, burn and vignette, the image came up good!
Here’s another example:
Note the wall to the right of the finished image also came through CA Fill successfully
Content aware is a fairly simple thing to use: use lasso, patch, pen tool, selection brush - whatever you prefer to select an area - hit delete, select content aware, hit enter - job done! There may be some fixing to do afterwards, particularly with busy images, however, the hit-rate is pretty good!
So, this wasn’t really meant as a photoshop tutorial, but whatever! Thanks for reading!
Until next time!
Ant


